About BC Seeds

BC Seeds is an online cannabis seed bank developing and globally distributing super premium cannabis seeds. Back in the early 2000’s, BC Seeds had a reputation for providing authentic cannabis seeds when other seed banks just ran away with your money. Today they are most famous for creating 42 of the world’s strongest strains. Even though their original logo was not so refined, they were the first online Canadian cannabis seed bank, with their website going live on January 8, 2000.
Only BC Seeds can provide you with their world’s strongest cannabis genetics. Obtain the highest THC levels on Earth. Their THC is much higher than any other seed bank in the world. They also produce seeds high in CBD for medical use and Cannabis Oil…Read More

British Columbia Seed Bank Vancouver Bc, Canada
BC Seeds British Columbia Seed Bank Vancouver BC, Canada is the creator of the world’s strongest marijuana seeds with the highest THC levels and is the oldest cannabis seed bank in Canada and North America. We are the creator of Elephant Bud and the latest genetically modified cannabis strains like Never Dies Cannabis Plant. When you buy your seeds, make sure they’re authentic BC Seeds.Read More
100% Über Stealth Delivery & Safety Guarantee
BC Seeds offers you worldwide 100% Über Stealth Delivery & Safety Guarantee*, so you can sit back, relax and get your order safely and on time. We have mastered the art of über stealth shipping since 1994 and have never had a single interception.
We offer you up to 30+ free marijuana seeds which are from our best genetic gene pool. We never give you old seeds as your freebies like other seed banks. Our seed stock is replaced every 3 month’s, and your freebies are never older than 3 month’s either! You’ll get 100% germination rate’s* with all strains, even your freebies.Read More
We offer you up to 30+ free marijuana seeds which are from our best genetic gene pool. We never give you old seeds as your freebies like other seed banks. Our seed stock is replaced every 3 month’s, and your freebies are never older than 3 month’s either! You’ll get 100% germination rate’s* with all strains, even your freebies.Read More
Latest Articles
Magic Mushrooms in Japan
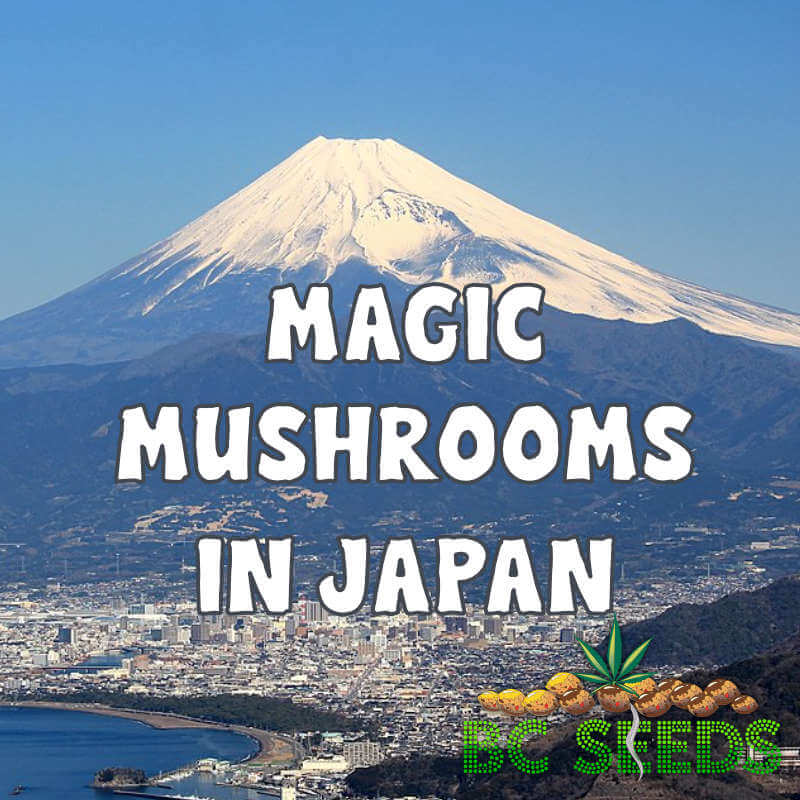
Exploring the phenomenon of magic mushrooms in Japan. In recent years, Japan has witnessed a growing interest in cannabis and magic mushrooms. Japanese enthusiasts of all ages are seeking out psychedelic fungi for various purposes. This trend has sparked discussions...
Read MoreMagic Mushroom Shops

Canada's magic mushroom shops are a growing trend. In recent years, Canada has witnessed a surge in the popularity of magic mushrooms. Shops are popping up all over the country. This trend has sparked debate and raised questions about the...
Read MoreFunghi’s Fantastic Forest Adventures
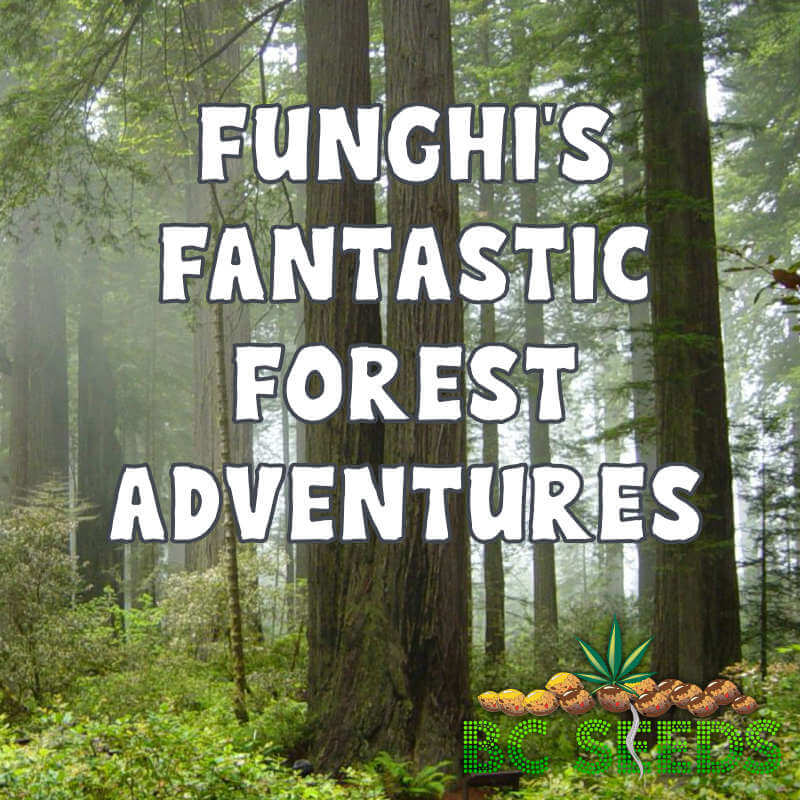
Funghi's fantastic forest adventures, a story to read while high. In the heart of an enchanted forest, where the trees whispered secrets and the flowers danced in the breeze, there lived a magical mushroom named Funghi. Funghi was no ordinary...
Read MoreVancouver Mushroom Dispensaries
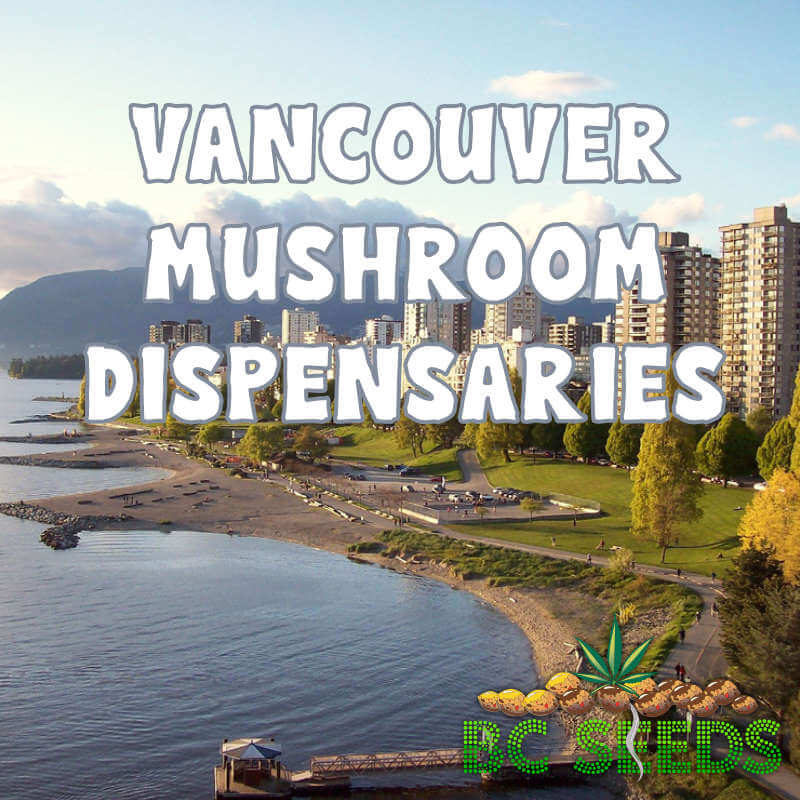
Vancouver mushroom dispensaries are Psychedelic mushroom dispensaries are establishments that sell psychedelic mushrooms. These magic mushrooms contain the psychoactive compound psilocybin. The City of Vancouver has taken a progressive step in licensing mushroom dispensaries, reflecting a growing acceptance of alternative...
Read MorePeer Pressure and Cannabis: Empowering Children to Resist
Peer pressure and cannabis. Learn these strategies so your child resist peer pressure to use cannabis. It also teaches them healthy decision-making and communication skills. Peer pressure can be a powerful force in a child's life. However, as a parent...
Read Morecannabis seed promo